Sunday, July 7, 2013

So We Come to the End...

So we come to the end of this first project. It has been an amazing ride, one that I have enjoyed tremendously from start to finish. In some ways my ambition overstepped my ability, which to me is a good thing. I am very much a rookie with the air brush, and I definitely need a lot more practice before I attempt some of what I wanted to do with this kit, but didn't.

This is my first large resin kit and overall I am extremely pleased with how it turned out. My goal of having it ready for the doubles tournament on July 21st has been reached. I think that in some ways having that self imposed deadline hurt the final produce a little, as there are some flaws that I overlooked, some fit issues that I could have addressed better, and some mistakes that I would have like to have fixed.  Overall though I am extremely pleased with how things turned out. It has stretched my skill set and given me some ideas for things I would like to try in the future, such as camouflage, and more sophisticated weathering techniques using salt or hair spray, as well as getting fancier with the air brush.

A note on my materials...

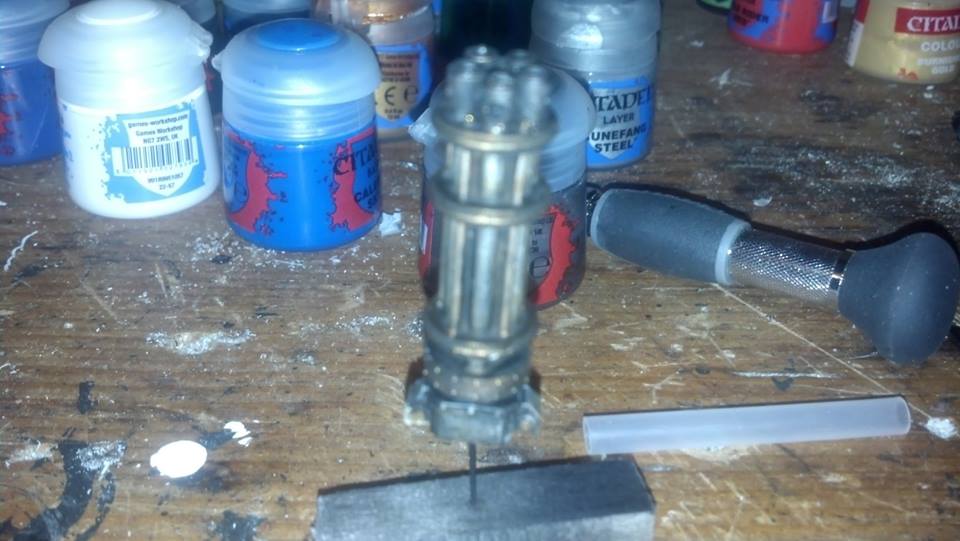
My paints are mostly Citadel.  Brushes are a mix, again mostly Citadel with some others tossed in for good measure. Glue was Citadel thin superglue and Krazy Glue Max Bond. I use a P3 wet palette. I have 2 second hand Badger A-150 airbrushes, and use a commercial pancake compressor with a regulator.

I do want to expand my palette, and get into more lines of paint, but I want to use up some of the Citadel stuff first. The next big paint investment will most likely be the Badger paints, or possibly the Vallejo Air line, we shall see...

Now on to the photos...


Thank you all for tagging along!

Jason

Thursday, June 27, 2013

The Run for the Finish

So we enter the final steps, and finally put paid to this project. Jumping right in...

30. I airbrushed the undersides Calgar Blue

Then I finished the engines.

32. The top was then done in Eshin Grey, and the tail fins Blood Red


33. The whole model was given a liberal brushing of Nuln Oil wash. Yes, I use more than just Agrax Earthshade. Which I used to wash the landing skid bay.


34. Then the outer wings were attached to the engines, then the engines to the wings, as well as the landing skid and strut.


35. The upper surfaces were dry brushed with the grey, and the underside dry brushed in a lightened shade of the blue.


36.The gun bay was dry brushed with various metallic paints, then a heavy dry brushing of black to represent soot from the firing of the Avenger Cannon.

37. The leading edges of the wings, and the upper wing surfaces were given a light dry brushing of Necron Compound, then the cannon, las-cannons and hard points were mounted.


38. I added some random water slide decals I had left over from some other GW kits.


39. Then it was permanently adding the pilot and navigator.


40. The base was done with aquarium sand, Astrogranite textured paint, washes of Nuln Oil and Agrax Earthshade, dry brushed light gray on the concrete side, with the yellow lines being added with the assistance of blue tape. The "dirt" side was dry brushed XV-88, then a few shades of green in spotty areas. a few variations of green Woodland Senics flock with a Woodland Senics bush were added in for effect. Two weeds were added to the joint between the dirt and the concrete.


The canopies are not glued down, as with them on, it is impossible to see any detail in the cockpits.
The last steps are to pull out the pigments for the final weathering and dullcoat. I will have some better pictures next time, as well as a summary of the experience.

Sunday, June 23, 2013

Things are beginning to pick up speed

It has been a few days, but they have been busy ones. This project has had me chomping at the bit and I have been devoting as much time as possible into it. So, here we go...

21. I highlighted the seats, using the metallic and brown, then I put them in the cockpit to see what they looked like.


22. I primed the fuselage, outer wings, and rudders Valspar Grey Primer, the sandable kind.


23. Now I base coated the pilot and navigator figures. Colors used are:
Caliban Green for the jumpsuit
Dark Reaper for the vest
Mephiston Red for the helmet
Mournfang Brown for the leather
Screaming Skull for the quilting
Ogryn Camo for the oxygen mask
I mixed up a custom flesh tone for the face
Hit the shiny bits with various metallics.
Then washed it all with Agrax Earthshade.


24. Highlights were next.
Ogryn Camo for the jumpsuits
Administratum Grey for the vest
Deathclaw brown for the leather
Screaming Skull for the mask
White Scar for the quilting
Evil Sunz Scarlet and Wile Rider Red for the helmet
And a lightened version of the flesh tone previously mixed.


The highlights are very stark, usually I blend them a lot more, but I wanted these guys to stand out when the canopies were on, so I went bolder than usual.

25. I started painting the engines next, with the following colors:
Tin Bitz
Necron Compound (one of the Citadel dry paints, love it!)
Leadbelcher
Runelord Brass
Mephiston Red
Gehenna's Gold
Warplock bronze.
Washes of Nuln Oil and Agrax Earthshade were used as well.


The afterburners were then washed with Carroburg Crimson, then dry brushed with Runelord Brass


Which gave an interesting effect.

26. Then I primed and painted the navigator's console and the pilot's left arm. I attached the left arm, swore a lot, kicked a brick wall a few times then attached the left arm again.


27. Next up was the Defensive Heavy Stubber, which got painted with Leadbelcher, washed with Nuln Oil, and highlighted with a dry brushing of Necron Compound. Then I mounted the Avenger Cannon to a block and primed it.


When the primer was dry, I hit it with the metallic paints, gave it a wash of Seraphim Sepia, then highlighted it with the lighter colors


28. I airbrushed the cockpit and landing skid well with a custom mix of green and white.


29. Finally I masked and painted the canopies as well as the landing strut and skit the same light green


Starting to look very cool, you ask me...