Thursday, June 27, 2013

The Run for the Finish

So we enter the final steps, and finally put paid to this project. Jumping right in...

30. I airbrushed the undersides Calgar Blue

Then I finished the engines.

32. The top was then done in Eshin Grey, and the tail fins Blood Red


33. The whole model was given a liberal brushing of Nuln Oil wash. Yes, I use more than just Agrax Earthshade. Which I used to wash the landing skid bay.


34. Then the outer wings were attached to the engines, then the engines to the wings, as well as the landing skid and strut.


35. The upper surfaces were dry brushed with the grey, and the underside dry brushed in a lightened shade of the blue.


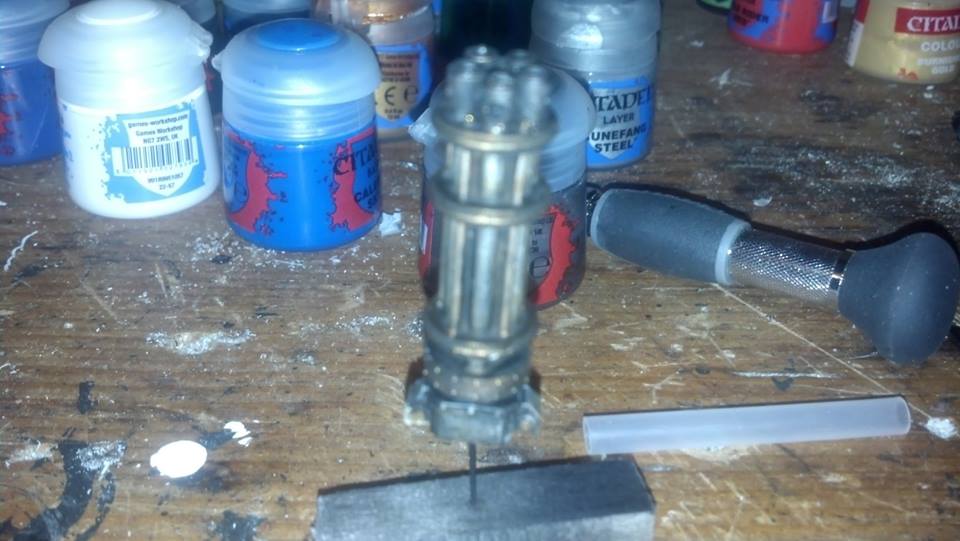
36.The gun bay was dry brushed with various metallic paints, then a heavy dry brushing of black to represent soot from the firing of the Avenger Cannon.

37. The leading edges of the wings, and the upper wing surfaces were given a light dry brushing of Necron Compound, then the cannon, las-cannons and hard points were mounted.


38. I added some random water slide decals I had left over from some other GW kits.


39. Then it was permanently adding the pilot and navigator.


40. The base was done with aquarium sand, Astrogranite textured paint, washes of Nuln Oil and Agrax Earthshade, dry brushed light gray on the concrete side, with the yellow lines being added with the assistance of blue tape. The "dirt" side was dry brushed XV-88, then a few shades of green in spotty areas. a few variations of green Woodland Senics flock with a Woodland Senics bush were added in for effect. Two weeds were added to the joint between the dirt and the concrete.


The canopies are not glued down, as with them on, it is impossible to see any detail in the cockpits.
The last steps are to pull out the pigments for the final weathering and dullcoat. I will have some better pictures next time, as well as a summary of the experience.

Sunday, June 23, 2013

Things are beginning to pick up speed

It has been a few days, but they have been busy ones. This project has had me chomping at the bit and I have been devoting as much time as possible into it. So, here we go...

21. I highlighted the seats, using the metallic and brown, then I put them in the cockpit to see what they looked like.


22. I primed the fuselage, outer wings, and rudders Valspar Grey Primer, the sandable kind.


23. Now I base coated the pilot and navigator figures. Colors used are:
Caliban Green for the jumpsuit
Dark Reaper for the vest
Mephiston Red for the helmet
Mournfang Brown for the leather
Screaming Skull for the quilting
Ogryn Camo for the oxygen mask
I mixed up a custom flesh tone for the face
Hit the shiny bits with various metallics.
Then washed it all with Agrax Earthshade.


24. Highlights were next.
Ogryn Camo for the jumpsuits
Administratum Grey for the vest
Deathclaw brown for the leather
Screaming Skull for the mask
White Scar for the quilting
Evil Sunz Scarlet and Wile Rider Red for the helmet
And a lightened version of the flesh tone previously mixed.


The highlights are very stark, usually I blend them a lot more, but I wanted these guys to stand out when the canopies were on, so I went bolder than usual.

25. I started painting the engines next, with the following colors:
Tin Bitz
Necron Compound (one of the Citadel dry paints, love it!)
Leadbelcher
Runelord Brass
Mephiston Red
Gehenna's Gold
Warplock bronze.
Washes of Nuln Oil and Agrax Earthshade were used as well.


The afterburners were then washed with Carroburg Crimson, then dry brushed with Runelord Brass


Which gave an interesting effect.

26. Then I primed and painted the navigator's console and the pilot's left arm. I attached the left arm, swore a lot, kicked a brick wall a few times then attached the left arm again.


27. Next up was the Defensive Heavy Stubber, which got painted with Leadbelcher, washed with Nuln Oil, and highlighted with a dry brushing of Necron Compound. Then I mounted the Avenger Cannon to a block and primed it.


When the primer was dry, I hit it with the metallic paints, gave it a wash of Seraphim Sepia, then highlighted it with the lighter colors


28. I airbrushed the cockpit and landing skid well with a custom mix of green and white.


29. Finally I masked and painted the canopies as well as the landing strut and skit the same light green


Starting to look very cool, you ask me...

Tuesday, June 18, 2013

Time to Start Slapping Some Paint Around...

So, I got to the point where things have begun to accelerate, parts cleaned up, holes filled, time to start moving...

13. The pilot and navigator figures, as well as their seats and the cockpit were pinned to wooden blocks, to act as paint stands and handles. Some people use corks, but since boxed wine does not have corks, I had to improvise with scraps of wood laying around.

14. Then I assembled the engines. Pretty straightforward, but they did require a lot of trimming and sanding to fit.


I left off the landing skids until final assembly, as they will interfere with painting

15. I attached the nose to the fuselage. Again a lot of sanding and filing was involved, and the gaps were still significant. I am not complaining, this is the nature of the beast. I could see light through some of them...
As an aside, the fuselage is so heavy you could use it to beat someone to death. Just sayin...


16. I primed the pilot, navigator, seats, console and engines Chaos Black. I like the GW primer, as it is very forgiving and covers well.

17. Then I filled the gaps in the nose section using Squadron White putty. This was too big a job for Liquid Green Stuff, and not quite big enough for the two part green stuff.

18. I mounted the wings and the tail planes. The fit was excellent, despite the minor warping in the wings. Then I flew it around making swooshing noises again.


19. I painted the pilot's console. For the monitor I used 3 shades of gray, with 3 coats of Citadel "Ardcoat gloss varnish. The small details were painted using a 20/0 brush and a lighted magnifier. I am 43, and even bifocals can't keep up with the tiny details.


20. Finally I base coated the seats, and gave them a wash of Agrax Earthshade. I have heard this was called talent in a bottle. I tend to agree.


There does not appear to be that great a difference in the pre and post wash pictures, but there is, trust me.

That is all I have gotten done so far. Next steps will be priming the big parts gray, highlighting the seats, and painting the pilots.

Thanks!